
I pretty regularly emails that go something like this:
“Your birds don’t have corn and soy, do they?!”
And honestly? That question makes me pause. It’s simple on the surface, but it touches on a lot of layers about how we raise food, what really matters for nutrition, and how small-scale farms survive while keeping food accessible. So I figured I’d write this all down — partly to answer that question, and partly to explain the bigger picture.
Pasture-Raised Turkeys and Thoughtful Feed
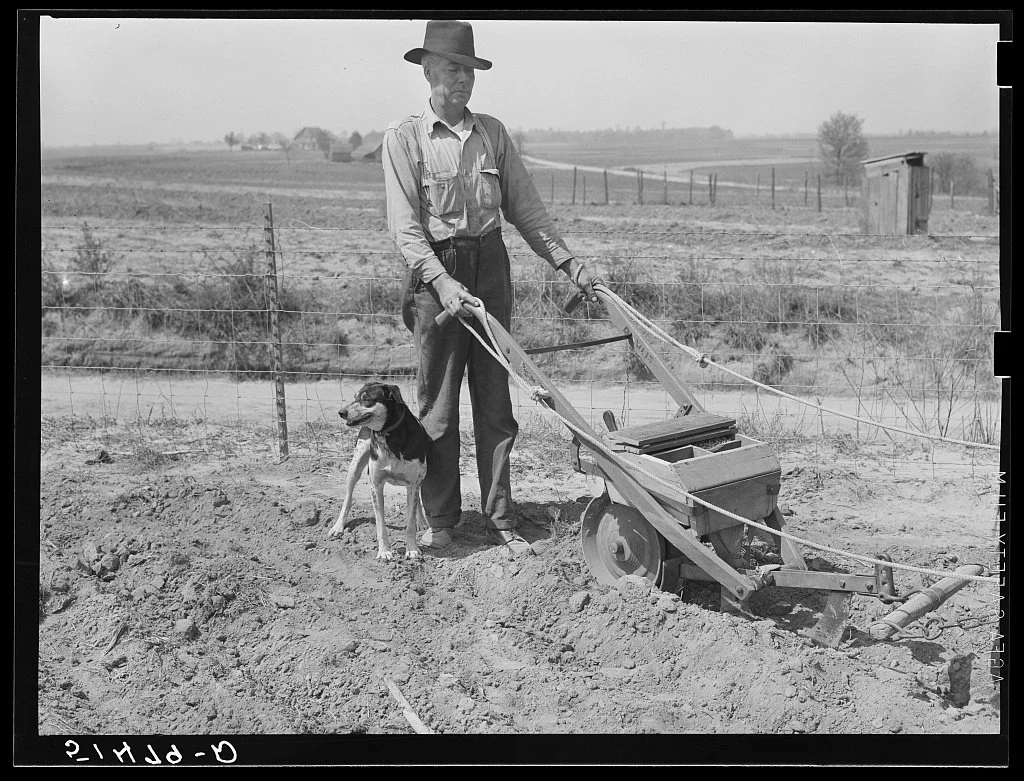
Our turkeys are pasture-raised, which means they roam freely, forage naturally, chase grasshoppers, and enjoy fresh greens. On top of that, we supplement their diet with regionally sourced, expeller-pressed corn and soy from Resaca Sun Feed. This feed is:
Non-GMO that’s certified and tested regularly
Expeller-pressed, not chemically extracted, so no hexane or solvent residues
Balanced with poultry nutritionists that have a holistic approach
Feeding corn and soy this way isn’t just tradition — it’s practical. The feed provides consistent protein and energy, ensures lean, flavorful meat, and supports immune health, all while keeping the birds thriving on pasture. Over the past few years as the polyunsaturated fatty acids (PUFAs) awareness has gained some steam there’s been a bit of a divide among pastured poultry producers about what makes sense.
We’re a really transparent operation and I’m sharing our thoughts today with the science we have available. We raise food for our family that has autoimmune issues, BRCA gene mutations, and Lyme. We truly believe Food Is Medicine, but that also means taking a thoughtful vs. reactive approach.
A Bit of History
Corn and soy have been feeding humans and animals for centuries:
Corn was central to Indigenous agriculture in the Americas, nourishing people and livestock sustainably for generations.
Soy was domesticated in East Asia and has been eaten for thousands of years. Populations that regularly consume soy tend to live longer, healthier lives. Historically, soy also provided high-quality protein for animals long before industrial feed systems existed.
This context reminds us that corn and soy aren’t “new” or inherently bad — they’ve been part of healthy diets for millennia. It is important to consider how they’ve changed, how farming practices have changed, and how they are being used.
How Matters as Much as What
Not all soy is created equal.
This is part of the bigger picture: it’s not just what the feed is, it’s how it’s prepared and integrated with the birds’ daily life on pasture.
Pasture Access, Omega Balance, and Meat Quality
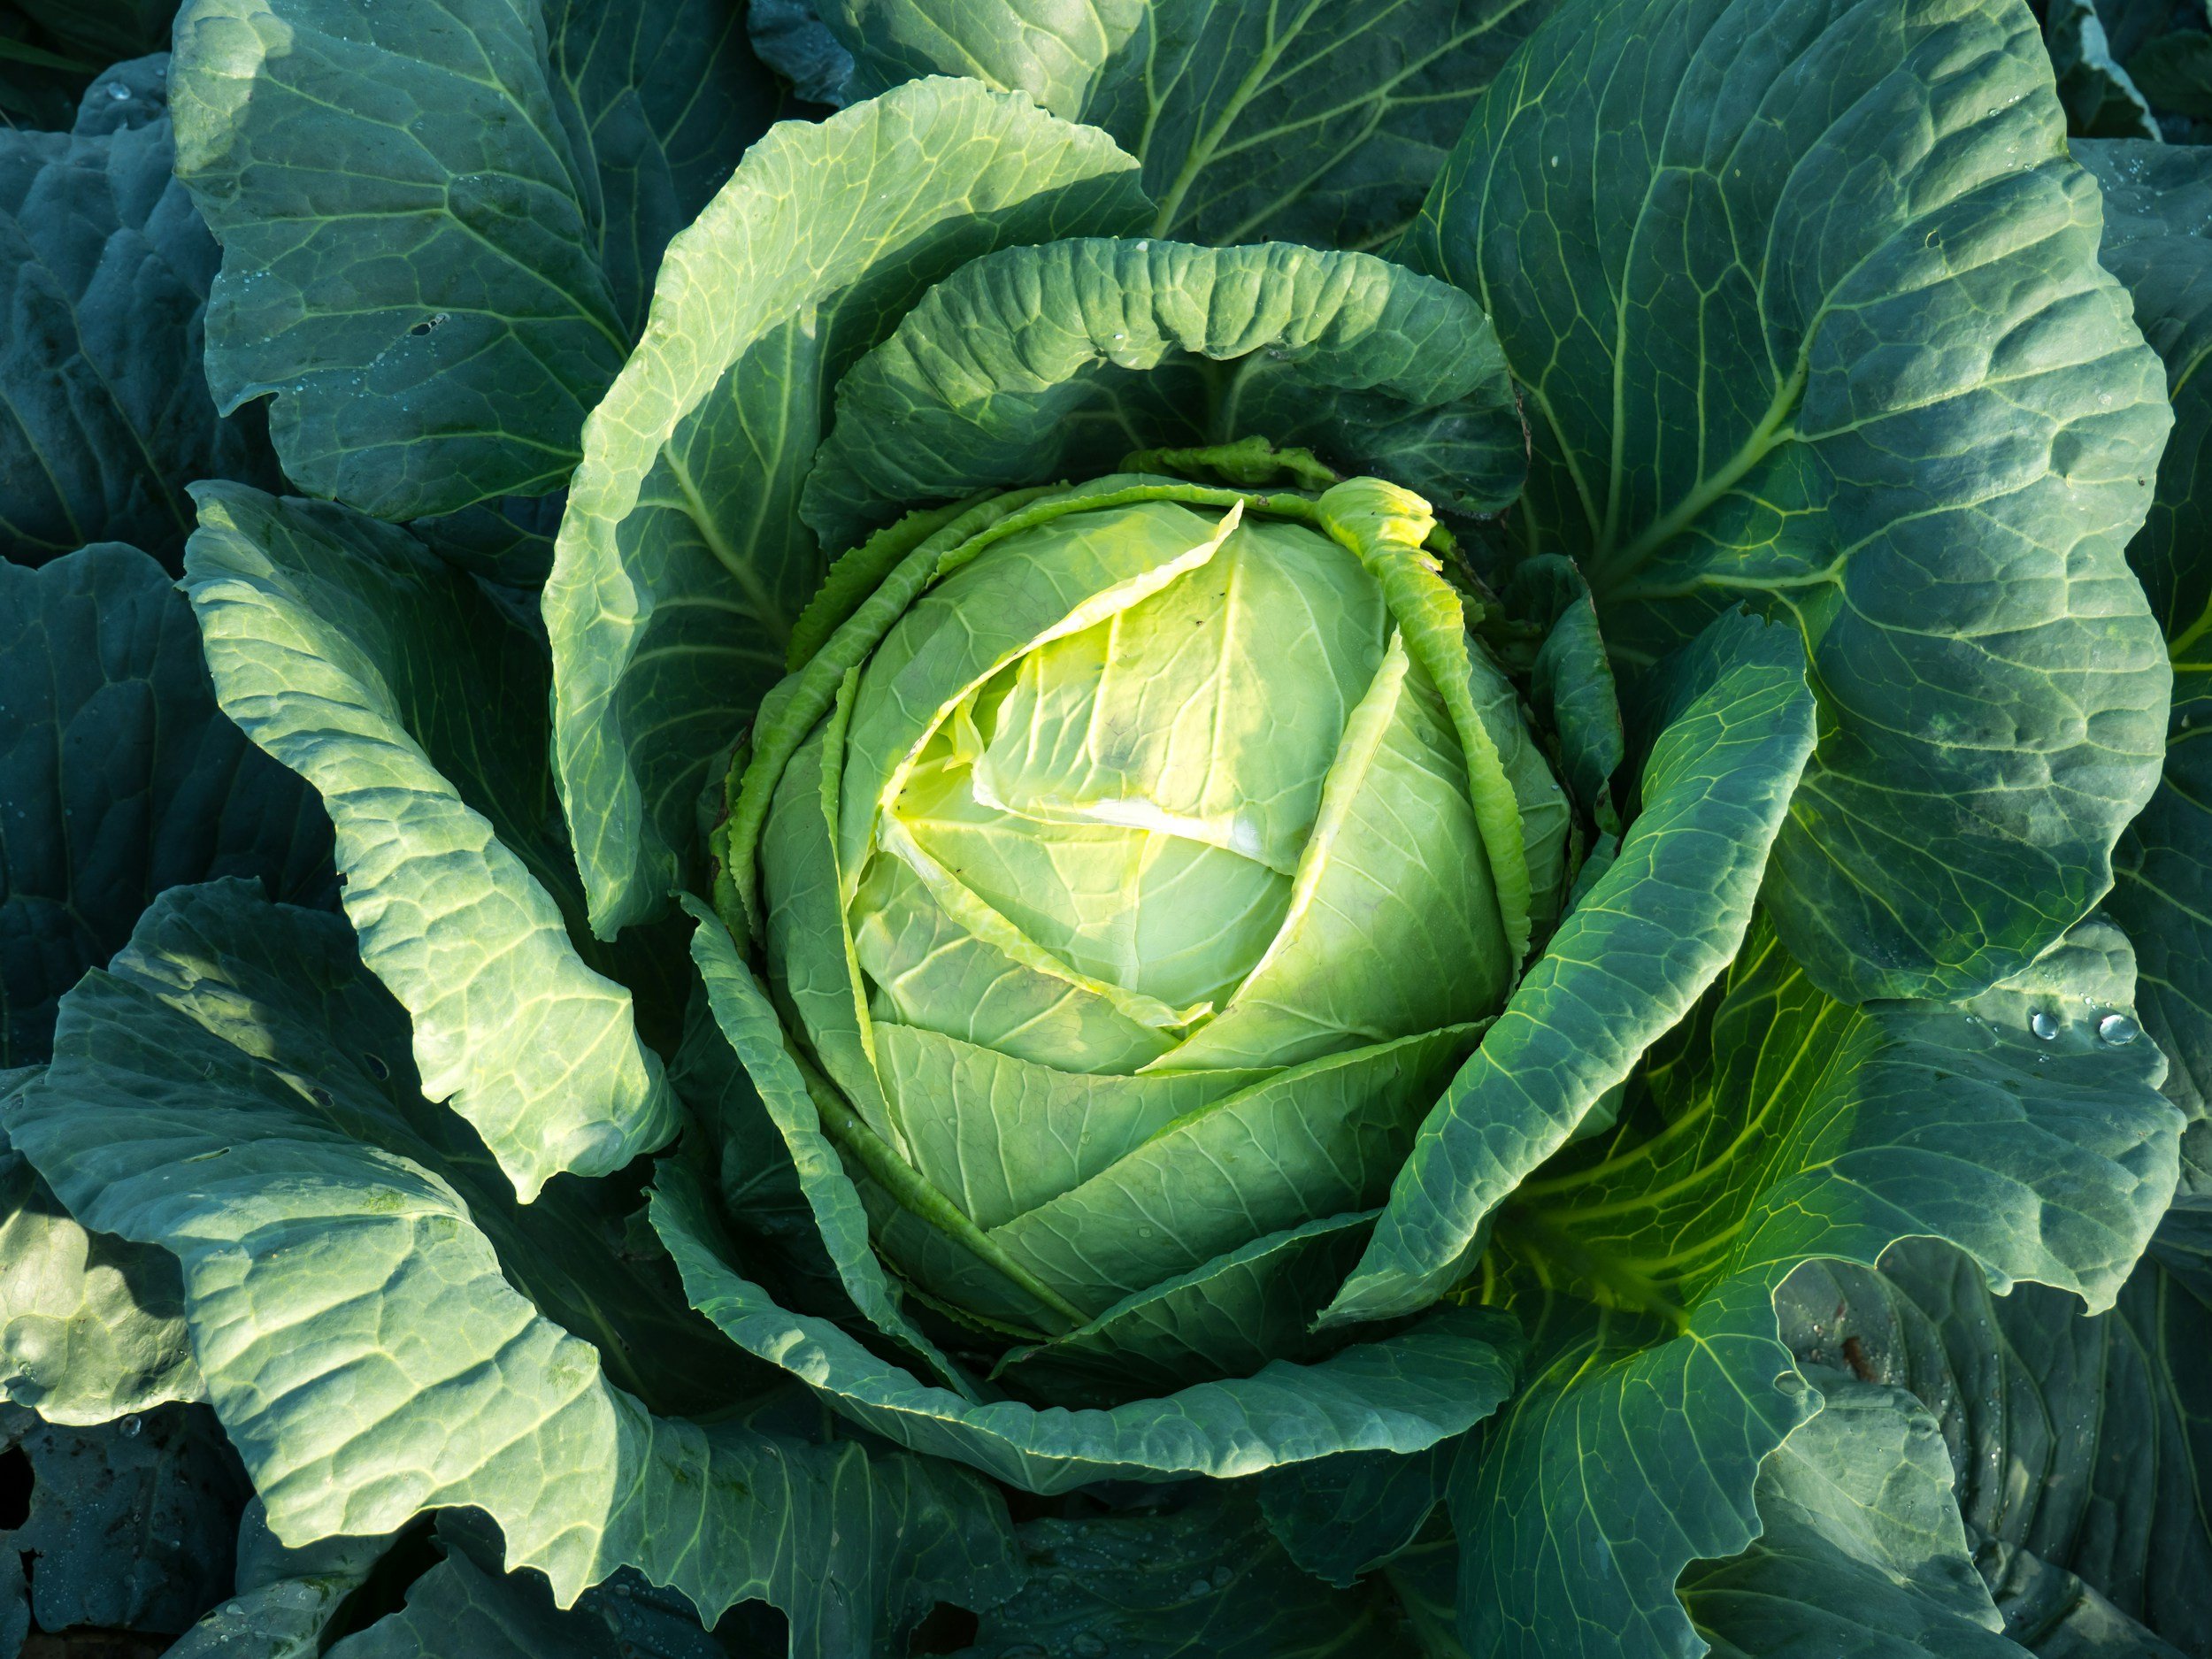
Because our birds are on pasture, they naturally get greens, insects, and seeds, which helps balance omega-6 and omega-3 fatty acids. So while some people worry about corn and soy increasing omega-6, in practice, pasture-raised birds like ours have a healthy, balanced fatty acid profile, and the meat is both flavorful and nutritious. It costs thousands of dollars to do nutritional testing, but if you know any food science professors at UT we’d love to have our turkey tested!
Local Sourcing and Environmental Impact
Corn and soy are grown regionally, which means the grains don’t have to travel far, reducing carbon emissions and supporting local farmers. Alternatives like wheat, barley, or oats aren’t widely grown in Tennessee or Georgia so sourcing them would increase both cost and environmental footprint. Local grains keep the feed sustainable, accessible, and practical.
Specialty Feeding Options
We get that some people want corn- and soy-free turkeys. We’re open to that — if a group of at least 15 committed customers comes together for a batch of about 50 turkeys. Custom feed is expensive and logistically challenging, so it only works at scale, but it’s possible when there’s enough community interest.
Why “No Soy” Isn’t a Simple Solution
Some people avoid soy for health reasons — concerns about unbound glutamates, allergies, or dietary philosophies inspired by Weston A. Price. Others point to fish meal as an alternative protein, but that comes with its own challenges: allergies, sustainability concerns, and potential heavy metals. Other options, like field peas or sunflower meal, may work in theory, but they aren’t widely grown locally and could carry nutritional or availability challenges. But here’s another catch: if a farmer feeds flax or fish oil to boost omega-3s, those oils can go rancid very quickly if not handled perfectly. Rancid fish oil produces toxic compounds called free radicals, which can damage cells, suppress the immune system, and even make birds sick. It also gives the feed a foul taste and smell, reducing intake and wasting nutrition.
A lot of the “soy is bad” narrative traces back to Weston A. Price’s Nutrition and Physical Degeneration. His observations about primitive diets were groundbreaking, but he didn’t deeply explore the diets of East Asian populations, who historically ate soy regularly and were often very healthy. Similarly, the Native American populations he studied were often seafaring and ocean-adjacent, rather than the corn-growing inland tribes you might assume. Even in areas where he did study corn-eating populations, his focus tended to be on high elevation or hunter-gatherer communities, not the broader diversity of indigenous diets.
While “ancestral diets” make a lot of sense for humans, it’s important to remember that the Broad Breasted White turkeys we raise are very different from wild turkeys. These birds have been selectively bred over thousands of generations to grow quickly and efficiently, and corn- and soybean-based feeds have been the foundation of that growth. Perhaps if we were raising Narragansetts or a breed more closely related to their wild cousins, an ancestral-style diet might make more sense, but for Broad Breasted Whites, their genetics and metabolism are optimized for modern feed.
Some people avoid soy because of concerns about estrogen-like compounds, and you might be surprised to learn that we have clover growing in our pastures, just like most farms do. Clover naturally contains phytoestrogens—plant compounds that can mimic estrogen in the body.
The takeaway? Avoiding soy isn’t a guaranteed health improvement, and removing it from a turkey’s diet introduces complex nutritional and logistical trade-offs — especially if your goal is to raise healthy, pasture-based birds that are still accessible to the community.
Why Our Turkeys Cost What They Do
This year, our turkeys are $8 per pound. That’s higher than grocery store prices, but it reflects the reality of small-scale, pasture-based farming. Scale matters far more than taste or whether a bird is medicated. Large industrial farms can spread costs over thousands of birds, while we focus on quality, care, and ethical practices.
Raising a batch of corn- and soy-free turkeys would be exponentially more expensive. And then I ask myself: is that fair to our community? Part of our mission is to feed our neighbors, not just sell a luxury product. If we price high to tweak a small nutritional factor while most people are still consuming seed oils that impact overall health far more, we haven’t really helped our community.
We’re always conscious of keeping our meat as affordable as possible without compromising quality. That’s the balance we aim for — nutrition, ethics, sustainability, and community access.
A Complex Picture
Farming is complicated. Nutrition, welfare, environment, cost, and practicality all intersect in ways that aren’t obvious from a simple label.
Yes, our turkeys eat corn and soy. But they also:
Live on pasture, free to forage and chase insects. We try to reduce the amount of feed consumed
Never receive unnecessary antibiotics or interventions
Grow slowly and naturally for flavor and health
Contrast that with a bird that never ate soy but lived indoors, never touched grass, and got antibiotics — the feed alone doesn’t make the biggest difference. Life on pasture, freedom to forage, and ethical care matter far more.
I share all of this not to judge anyone, but to give context. Feeding corn and soy is just one part of a much bigger picture in sustainable, ethical turkey farming. That’s why we do it the way we do — to nourish our birds, our community, and the land responsibly.